
Adding shelves to an area can make a big difference, with so little effort. It's such a simple tweak with a big impact. Adding shelves for actual storage is a great option when you're short on storage space. I was fortunate enough to have ample storage space, but not enough decorating surface space.
For so long had I wanted simple shelves in the kitchen. A little spot to decorate for the different seasons, or just in general to decorate. Finally last spring I fought the apprehension and did it. A trip to Hobby Lobby, armed with a 40% off coupon, which was not needed because the shelves were on sale for 50% off (Sweet!!!!) and back home with 2 unfinished wooden shelves, 34 inches wide, for a whopping total of $13.99 + tax. This was my only out of pocket cost, as everything else I had on hand. Love it when that happens.

Only wanting the shelf itself to be dark, and the rest of it to blend with the wall, I used painters tape to protect the areas that would be painted the same color as the wall it would hang on. After a light sanding, and trying to get as close to the edges as possible, everything was taped well and ready for the fun part.

Stain seems to stick around forever, unless you're doing a large project. There were a couple of cans of leftover stain in my craft room, so I used whatever was on hand. Red Mahogany was used first, and later (not pictured) Jacobean which is quite a bit darker in color.

Both shelves were given two good coats of the Red Mahogany, not allowing too long to soak in, as the wood really soaks it in quickly.

After they were dry, a coat of dry brushed paint, in a combination of white, gray, and a dusky blue was added.

Once the paint had dried, I sanded the shelves. It adhered to the wood grain in some places and sanded easily in other places. Below, the board on the left has been sanded.

At this point, I applied a coat of the Jacobean stain and wiped it off right away. It really darkened it, which was much better than the red. I just wasn't feeling the red.

The next picture shows another sanding on the board on the left, and another coat of Jacobean, as opposed the the first sanding with only the Red Mahogany on the right.

The redness peeked through just a little bit, but that was nice. Darker was better in my opinion, and I was determined to use only what I had in the house. The two shelves are so different in grain, it's neat how they soak the stain in and show the beauty of each one.

After both were finished being stained, painted, sanded, stained, sanded and stained again. The colors matched and each was unique. I painted the rest of it to match the kitchen wall color. And because we had leftover paint in the basement, it was free.

Now, don't go getting nauseous while looking at the next picture. The quality is horrible and I don't know what I was thinking years ago when I put that stuff on the wall. (I might say the same thing a few years down the road, tastes change over time.) This is what the area looked like before the shelves were installed. Yes. Yes. I know. I know. Refer back to the statement of not getting nauseous.

After I marked exactly where I wanted the shelves, my husband put the shelves on the wall for me. He likes to do that kind of thing. It makes him feel like he helped with the whole project. And technically he did. It's called team work. One less thing for me to do.

At that point, I already liked the shelves better than the mirror. Wasn't too thrilled about the little hanging frames, but patience, patience. I had to talk myself down from the ledge on throwing them out right then. I had plan, and without the frames, the shelves looked a little....weird, lacking, off balance. That's it, too small above the large buffet. For the time being they would stay.

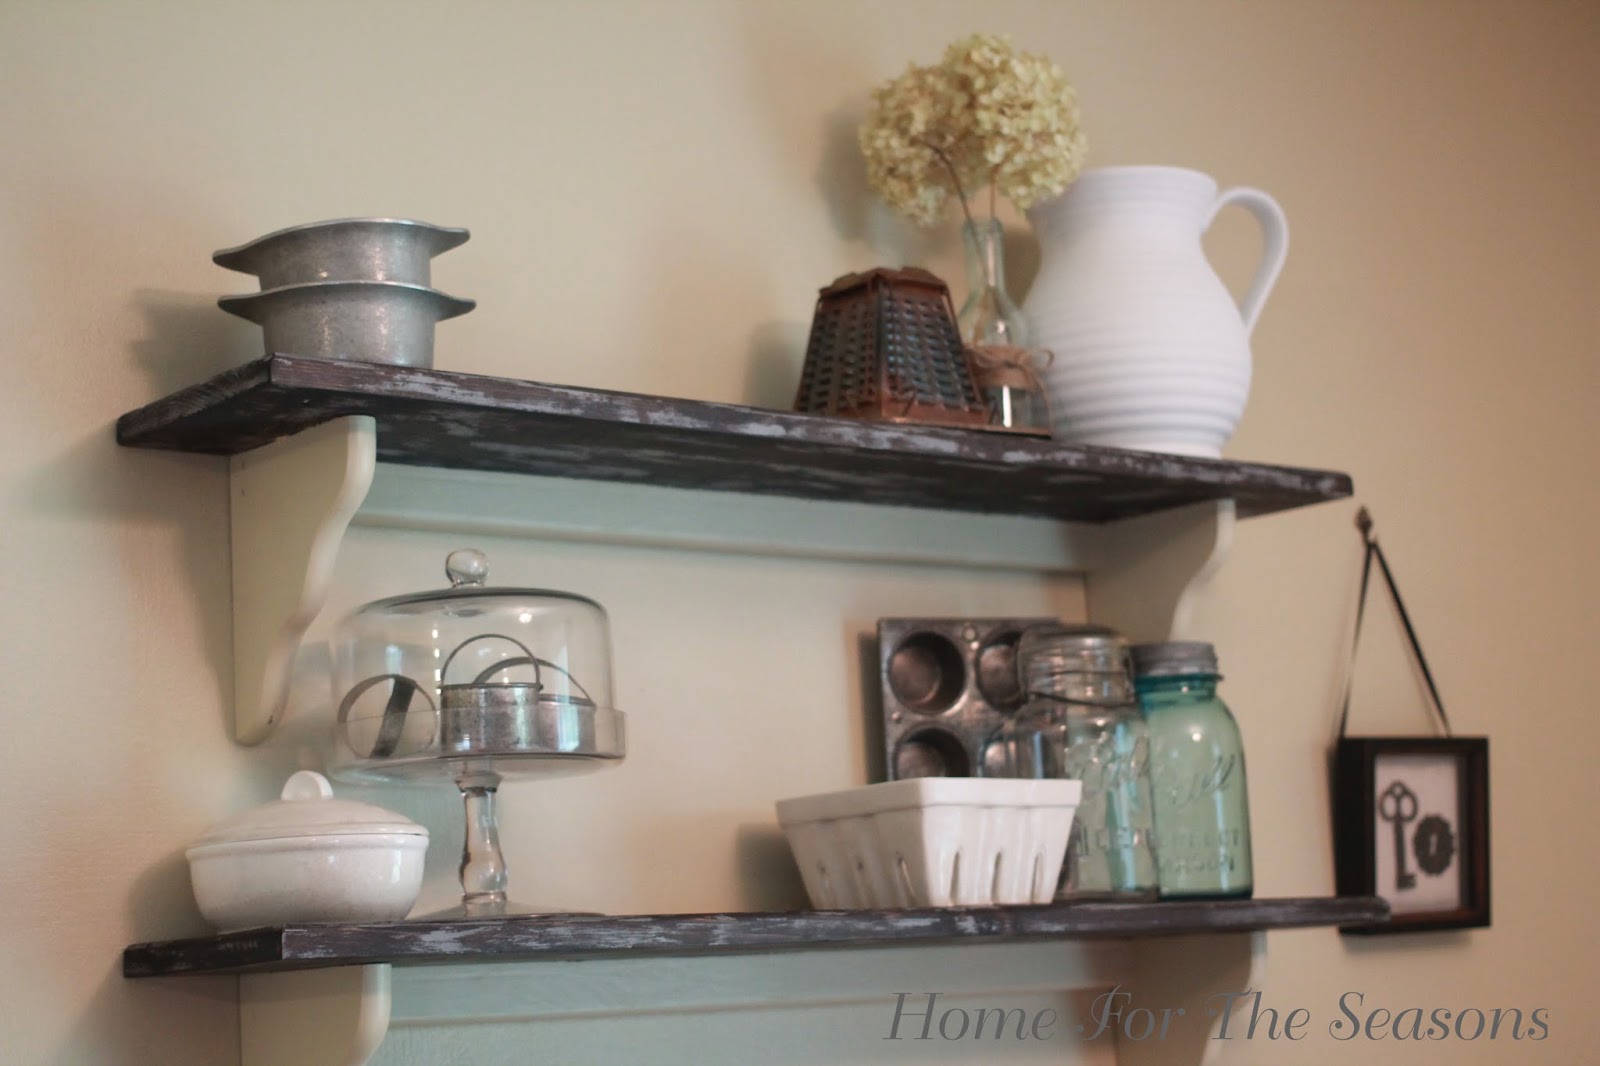
Finally a little area to put decorative "stuff". I was truly happy that the bottom of the shelves were painted the same color as the wall rather than stained dark like the top, it really helped it be a little less intrusive, and blended well with the wall.

Using the painters tape when starting this project ensured that the stain didn't get on the bottom parts, and I did use painters tape when painting the bottom to ensure that paint did not get on the stain. I think they turned out pretty well. Especially for a cost of $13.99 + tax for the whole project. That's hard to beat. Free would have been better, but not complaining about the small price tag for the big impact the shelves made to this area of the kitchen.

It is really nice having a little spot to decorate. The shelves have been up for a little over a year now and it has been fun decorating for all of the seasons. This picture is from last spring and it's first run at being decorated, items were added and taken away. You know how that goes.
An easy project and very affordable. Shelves add a decorative touch, give storage space when needed, add warmth and charm, and if you've ever wanted a fireplace mantle and don't have a fireplace, add a large shelf instead. It can serve the same purpose. Hope you enjoyed this small adventure.
Now about those little frames. Come back next week and I'll show you what I did to add a bit more beauty to this area and retire the frames.
No comments:
Post a Comment