

Graduation season is almost here. So....finally, the Graduation Cap Cardholder Tutorial is complete. Yippee!! Right?! Not a lot of pomp and circumstance today, no pun intended, but just the basics.
Supplies needed:
- Two tea lights (use the aluminum cup tea lights)
- Paper in desired color to wrap around the tea lights. (Lighter weight paper works best. Heavier weight paper has a tendency to unwrap itself. Use a stronger glue if using heavier weight paper, like a hot glue gun)
- Cardstock in same color for the mortarboard section (top)
- 16 gauge wire – (found in the jewelry section of craft stores)
- Glue gun and glue sticks
- Rolling adhesive or something similar
- Wire snips to cut the wire
- Flexible measuring tape
- Paper cutter
For the Tassels:
- Embroidery floss to make a tassel
- Round circle thingy
- Skinny needle with a large eye (this time I fashioned a piece of wire to do the trick – couldn’t find the flexible needle that I used before)
- Small piece of cardboard or folded card stock (to wrap the floss around)
- Scissors

Remove wicks from tea lights.

Stack
tea lights on top of each other, inverting the top tea light.
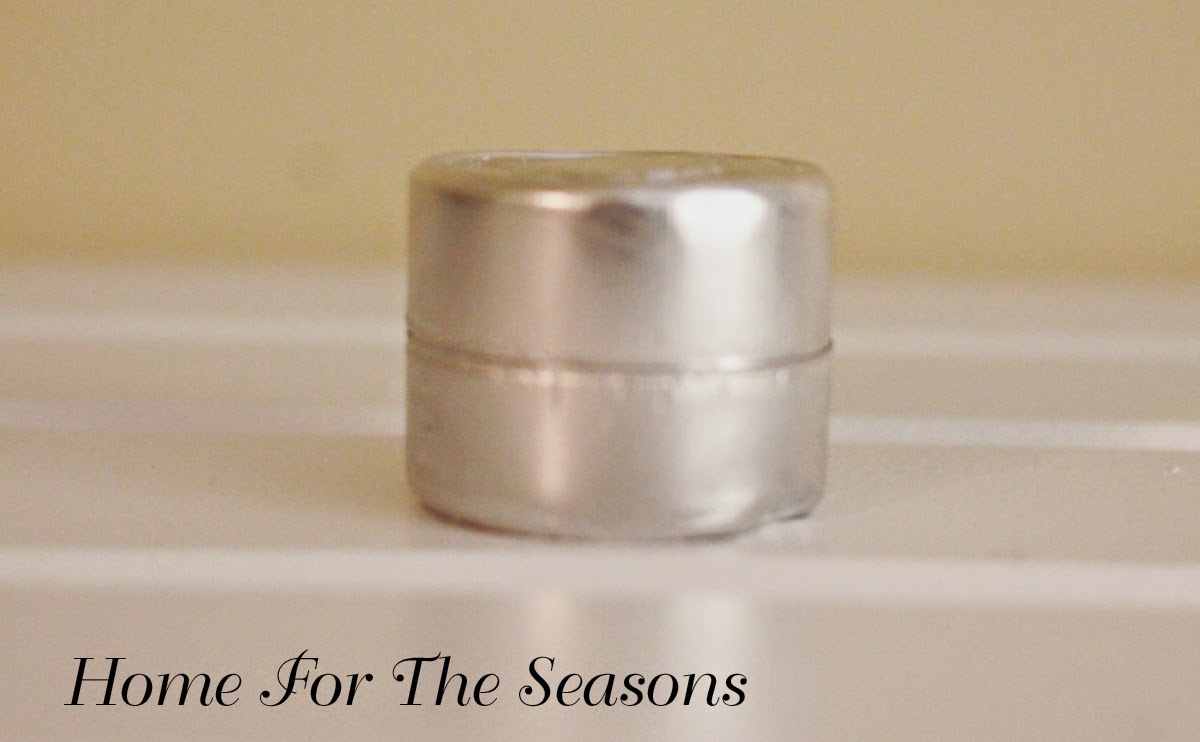
Measure
the height of the two stacked tea lights and measure
the circumference of the tea lights.

Cut strip of
paper that is the same height as the stacked tea lights. Then cut a length of
the strip that is approximately 1 in longer that the circumference of the tea lights.
(Example: circumference = 5 inches, cut paper to 6 inches) It’s okay, and
depending on the thickness of the paper, preferable to cut it longer, but not
shorter.

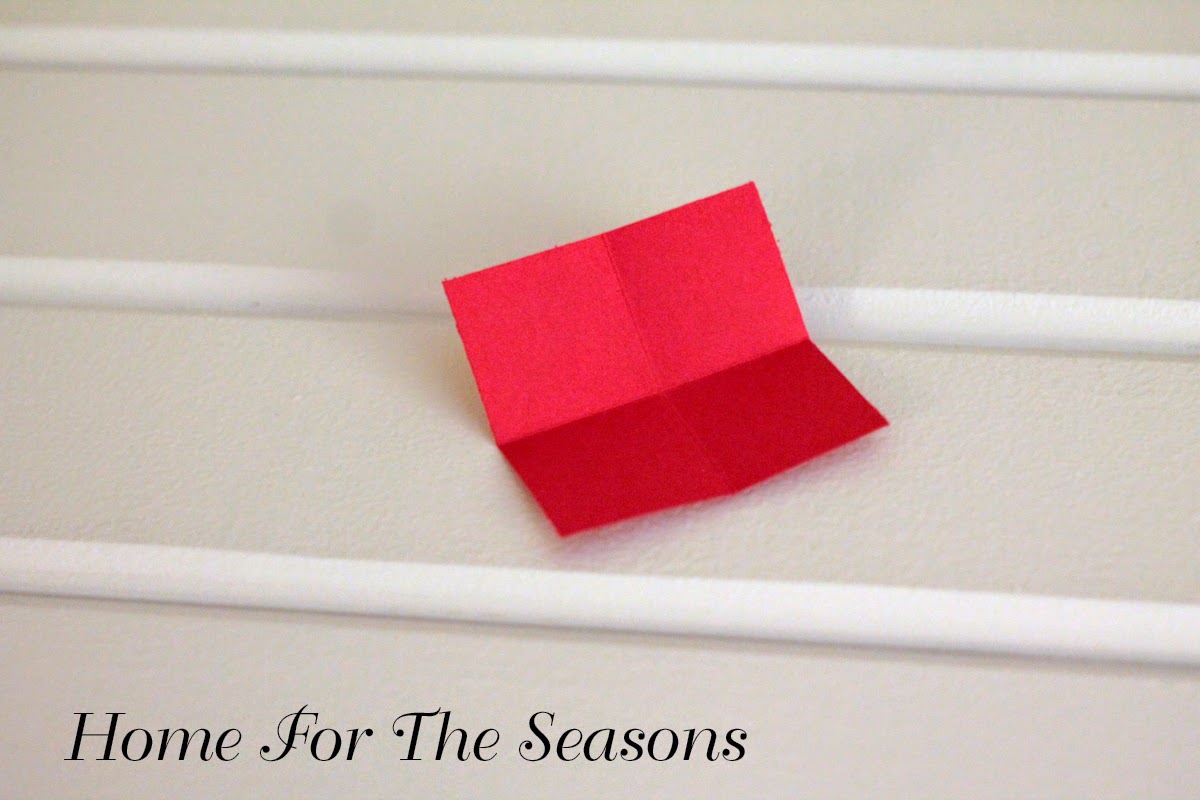
Apply 3 strips of
adhesive to the strip of paper. One to the top edge, and one to the bottom
edge, and one to the end.

Wrap the paper
tightly around the stacked tea lights. If the paper that you are using is thick, more like card stock, then use a hot glue gun at the end of the wrapping process. Take a small sharp object, such as a larger
needle or a very small nail and make a hole at the center.
Note: If the paper that you are using is thick, more like card stock, then use a hot glue gun at the end of the wrapping process. This happened to me. As you can see from the picture below, the edge is just starting to pull away. The paper that I used was pretty thick. It's hard to find thin red paper around here.
Note: If the paper that you are using is thick, more like card stock, then use a hot glue gun at the end of the wrapping process. This happened to me. As you can see from the picture below, the edge is just starting to pull away. The paper that I used was pretty thick. It's hard to find thin red paper around here.

Using the
cardstock for the mortarboard, cut 2 squares, 2” x 2”.

With one of the 2 inch squares, fold
it in half, unfold, and then fold in half the opposite direction. Where the two
folded lines meet in the middle, this is the center of your mortarboard. Take a
small sharp object, such as a larger needle or a very small nail and make a
hole at the center. This piece will serve as a template for all of the
mortarboard pieces. Put the template on top of the 2 inch piece of card stock to be used as the mortarboard. Using the temple, make a hole in
the 2 inch card stock.
Cut all of your strips and squares at one time, and put the holes in the squares. It will save you a lot of time and effort.

Now time for the wire loops to hold the card. These are the items needed. The tool on the right, something to hold and bend the wire with, is not really a necessity. The wire bends pretty easily. Note: My wire is cut to 6 inches in length, and used 2 loops. The desired height of the card holder is going to be affected by the length of your wire and how many loops you use. 6 inches of wire and 3 or 4 loops will be shorter overall. 8 inches of wire and 2 loops will be a lot taller. Play with this before making all of your loops. Once you decide on your preferred height, then cut all of your wires to the same length and wrap your wire the same number of turns so that all of your cardholders are uniform.

Using a smooth round object (I used
a Sharpie, because it was......well, it was there), wrap the wire tightly around the object, keeping the wire tight in
its wrap. The start of the wire will be at the bottom of your card holding
loop. Make 2, 3, or 4 circles, depending on you personal preference. Remember the note above concerning length, height, loops, etc.

End your loops on the same side as you began, then make a 90-degree bend in your wire. Straighten the wire as much as possible.

Slide the wire off of the "sharpie", and you have your loop to hold the card.

To attach the mortarboard (square) to the base, gather the three pieces shown below. You will insert the wire at the same time you attach the square.

Insert the wire through the hole of the square, with the rough edge of the wire facing a corner (this will be the back of the cardholder). Using your glue gun, apply a fair
amount of glue to the top of the stacked tea lights, getting pretty close to
the edges as well.

Place the mortar board section (with the wire inserted, facing the back, where the paper overlaps) on the top, with one point of the square even with the spot that the paper stops on the wrapped tea lights, this spot is now the back of your card holder and won’t be seen when you display them. Inserting the wire through the mortarboard (square) first and glueing them at the same time allows the wire to carry some glue into the whole, and also the wire will dry into the glue.

In the picture below you can see a point directed out over the overlapped paper (which is still pulling away, use a glue gun for the thicker papers).

Here, I made another base using a glue gun on the end of the paper, due to the thickness of the paper. It worked much better. Big difference.

Make a tassel, sip it over the top
of the wire or tie it around the wire. I use a teeny dot of glue to set the
tassel where I want it. That way I can make sure that all of the tassels are in
the same spot, facing the same directions, and are positioned so that the back
of the tea light won’t be seen. Look closely at the back of this following picture of the cardholder. Note the position of the overlap of the paper, one point of the mortarboard, and the rough edge of the wire.

Pretty cute little things. Extremely affordable, customizable, and easy to make. They turned out well.

There are lots of other tasks to complete before the Open House, so I'm glad that I took the time to complete all twelve cardholders. I think that's more than enough for my needs.

It seems like a lot of steps, but once you try it, you will find that it's extremely simple. And it doesn't take long.

This really was a fun project. What will I do next? I like having another project lined up and waiting.

Making the invitations would probably be a good start. Now to just figure out a date. I know, I'm a bit backwards right now. But there is a method to my madness, trust me.

I hope this tutorial helps. It's been a fun learning experience. Please let me know what I can do to improve on this quest.

What do you think? Did they turn out ok? Have you made some?
Feel free to leave a comment or ask questions. I will do my best to answer you quickly.
Thanks for visiting. Come back soon!!!
No comments:
Post a Comment