

Easter is just around the corner. Aaahhhhh! That means spring is close at hand, as well. Yippee!!!! The house didn't look too spring like inside, still had that same snuggled in winter feel to it, not to mention the pine garland on the mantle that my husband loves so much. Ok, I had been wondering how to add some Easter-like decorations, without having it look just like it did last year. It's nice to change things up and keep it fresh. Looking through one of my favorite catalogs, Pottery Barn, I spied some cute glittered eggs, in muted colors. Darling, expensive, and muted colors. Hmmmm. I liked one of the three, darling. That was it. Our little house doesn't get enough sunlight, especially this time of year, to pull off the muted decorations, without making the area feel drab. I need to have a little pop of color here and there. You know the drill, just make it yourself. Of course this called for a trip to (drum roll please), Hobby Lobby, a.k.a., the Land of Somuchpretty.
Fortunately, the only thing that I needed for this project was styrofoam eggs. And because the people that work at the store must have known that I was on my way, because they were on sale for 40% off. Bonus!!!! So, for about $6, I could make 12 glittered eggs, as opposed to $16.50 for 3 eggs, now on sale for $12.99. Yeah, it just doesn't make sense. Oh well.
Time to get to work by gathering the eggs, Mod Podge, toothpicks, a floral foam brick, a paint brush, and glitter. Oh, and of course something to cover the table surface. Glitter is a bear to clean up. I used newspaper, so I could just shake the glitter out in the outside trash bin, and put the newspaper in the recycling bin.
Stick one toothpick in the end of each egg. This is very helpful, you have something to hold on to and won't get glue and glitter all over you hands. Work with one egg at a time, from glue to glitter, then go on to the next eggs. You wouldn't want your glue to dry while trying to put glue on all of your eggs.
 |
| Foam eggs, with toothpicks in the bottom as a handle to hold on to. |
Using a medium sized, craft paint brush, put Mod Podge all over the surface of the egg. Ok, I actually found that the sloppier I was at this stage, the better the eggs turned out at the end. In other words, neatness is not a real factor at this stage, but use a good amount of the Mod Podge.
 |
| Mod Podge. Great stuff, and it seems to last a long time. A lot of projects in one bottle. |
Lots of different color glitters from my stash of craft goodies in the basement. Purchased these 2 years ago to make some cards, and it's just been sitting there, taking up valuable space. The colors are so pretty.
 |
| An assortment of colored glitter. |
Use the floral foam brick as a drying area for the eggs, after applying the glue and the glitter. Just stick the toothpick in the foam, and you don't have to worry about smudging your eggs, or having them stick to anything.
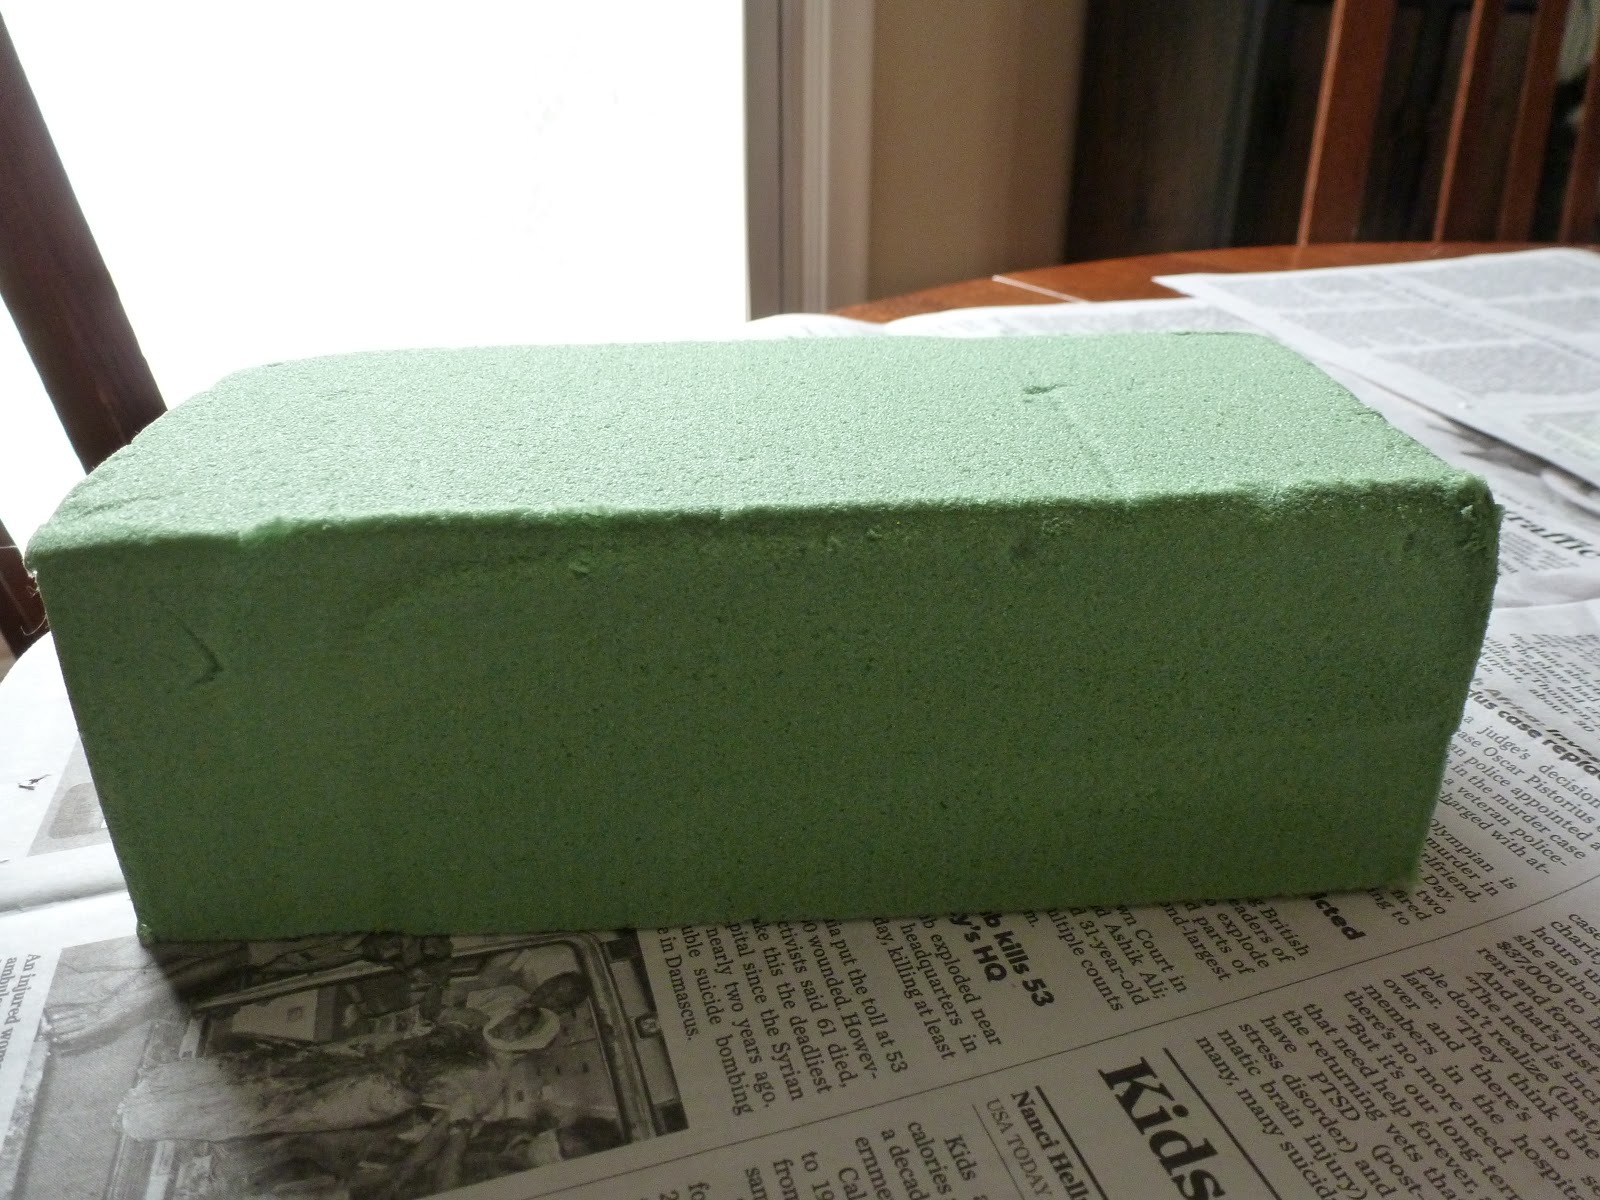 |
| "Drying Rack" for the eggs. There's a lot you can do with floral foam. |
After gluing and glittering the eggs, this is what I had. The toothpicks are a great help, as is the floral foam. I think they turned out great.
 |
| Pretty eggs. |
This was a fun project, and it was very easy and quick. I just can't argue with either of those qualities in a project.
 |
| The egg on the end was the first one done, and I was being way too neat, the glue was a bit streaky. |
They really do look pretty in the sunlight and add a big pop of color. I could have easily done one or two colors only, but I just couldn't decide, so I did 12 different colors.
 |
| Pretty. Pretty. Shiny. Shiny. |
After letting them dry for a few hours, I put them in this dish. It' actually a candy dish, but it's rather large, all 12 eggs are in the dish. Cute as can be.
|
| This really brightens up a corner in the room. |
 |
| All that glitters is not gold. |
So, it was fun, easy, economical, and quick. Just what you want when time is short and you want to add a pop of color to a room. Grab something, get the glue and glitter and you're on your way. Just don't grab your dog. I can only imagine that it just wouldn't be a very pretty situation.
Go enjoy the cold weather for a little while longer, spring is almost here.
No comments:
Post a Comment